Nuxt.js2.10+TypeScript環境構成をやってみた
初めまして、あやんです!
Nuxt.js2.10+TypeScriptで自社開発をやっていくのでローカルの開発環境を作ってみました!
参考:
https://typescript.nuxtjs.org/guide/
https://nuxtjs.org/guide
https://www.npmjs.com/package/vue-property-decorator
新しいNuxtプロジェクトを作成しましょう
- ターミナルで
yarn create nuxt-app <projectName> - 選択肢を選ぶ時にスペース押すと複数を選択することができるので、下記のように設定

作成が終わったらプロジェクトのフォルダーに移動し、yarn devでローカルにデプロイをしてみましょう。
これからTypeScriptの設定を紹介していきます!
1. プロジェクトにTypeScriptのパッケージを追加
yarn add --dev @nuxt/typescript-build
2. プロジェクトの設定
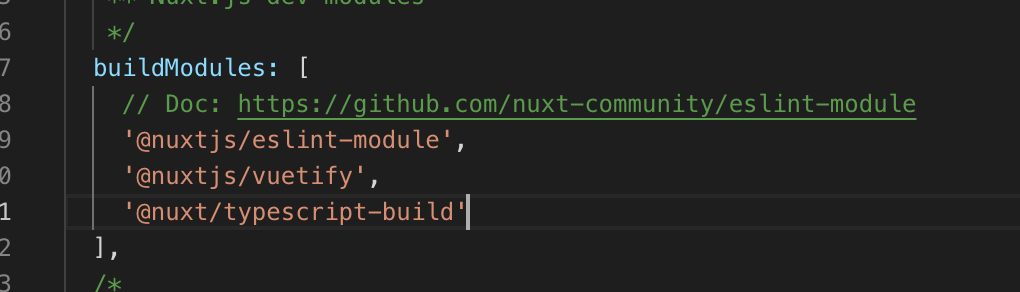
- nuxt.config.jsのbuildModulesに
'@nuxt/typescript-build'を追記
- TypeScriptもコンフィグファイルが必要なので
tsconfig.jsonを作成
{
  "compilerOptions": {
    "target": "ES5",
    "experimentalDecorators": true,
    "module": "esnext",
    "moduleResolution": "node",
    "lib": [
      "esnext",
      "esnext.asynciterable",
      "dom"
    ],
    "esModuleInterop": true,
    "allowJs": true,
    "sourceMap": true,
    "strict": true,
    "noEmit": true,
    "baseUrl": ".",
    "paths": {
      "~/*": [
        "./*"
      ],
      "@/*": [
        "./*"
      ]
    },
    "types": [
      "@types/node",
      "@nuxt/types"
    ]
  },
  "exclude": [
    "node_modules"
  ]
}
*デコレーターを使うため, "target":"ES5","experimentalDecorators": trueの修正が入っています
3. Runtimeの設定
NuxtのRuntime TypeScriptラッパーをインストール
yarn add @nuxt/typescript-runtime
そして、package.jsonのscriptsを下記のように修正
"scripts": {
  "dev": "nuxt-ts",
  "build": "nuxt-ts build",
  "generate": "nuxt-ts generate",
  "start": "nuxt-ts start",
  "lint": "eslint --ext .js,.vue --ignore-path .gitignore .",
  "test": "jest"
},
TypeScriptのファイルでESLintを使うための設定
- NuxtのTypeScriptのESLintパッケージをインストール
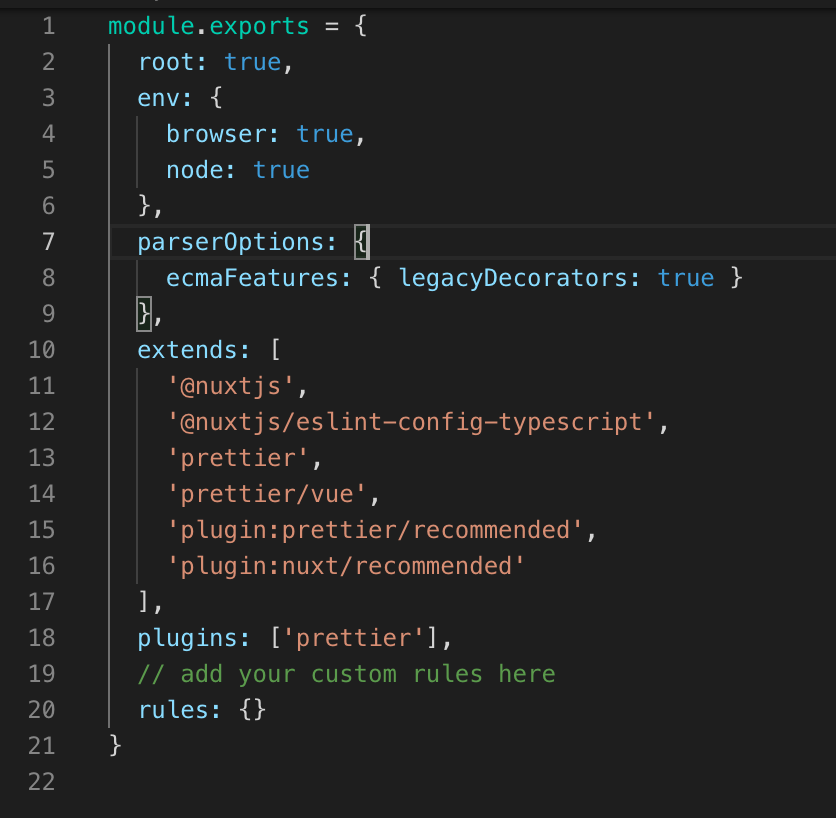
yarn add -D @nuxtjs/eslint-config-typescript2. ESLintのコンフィグファイル .eslintrc.jsを修正
- @nuxtjs/eslint-config-typescript をextendsに追記
- parserOptionsでparserをbabel-eslintを使っている場合:
1. parserOptionsから削除
2. Dependenciesから削除するため、
yarn remove babel-eslint
3. TypeScriptでESLintを使うためpackage.jsonのlint項目を修正
"lint": "eslint --ext .ts,.js,.vue ."最後にデコレーターをインストールしましょう
- インストールコマンドを実行
yarn add vue-property-decorator2. ESLintのコンフィグファイル .eslintrc.jsを修正
書いてない場合parserOptionsの中に 下記を追加
ecmaFeatures: { legacyDecorators: true }
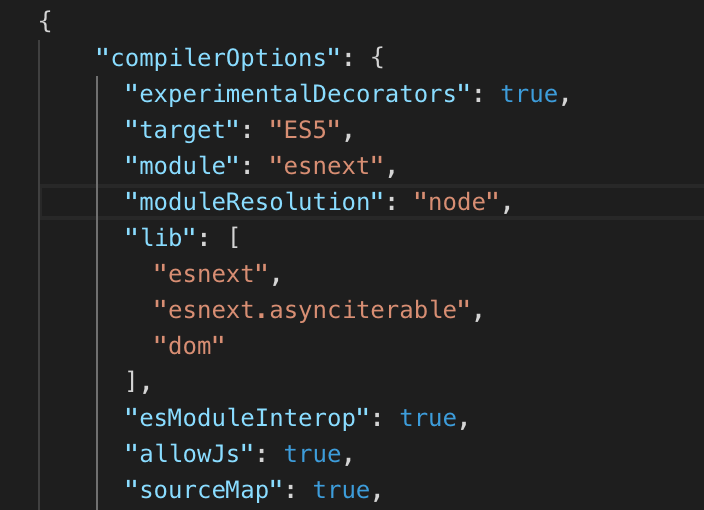
3. tsconfig.jsonファイルの確認
compilerOptionsの中"experimentalDecorators": true,
が入っていない場合追記
それで設定が完成です!
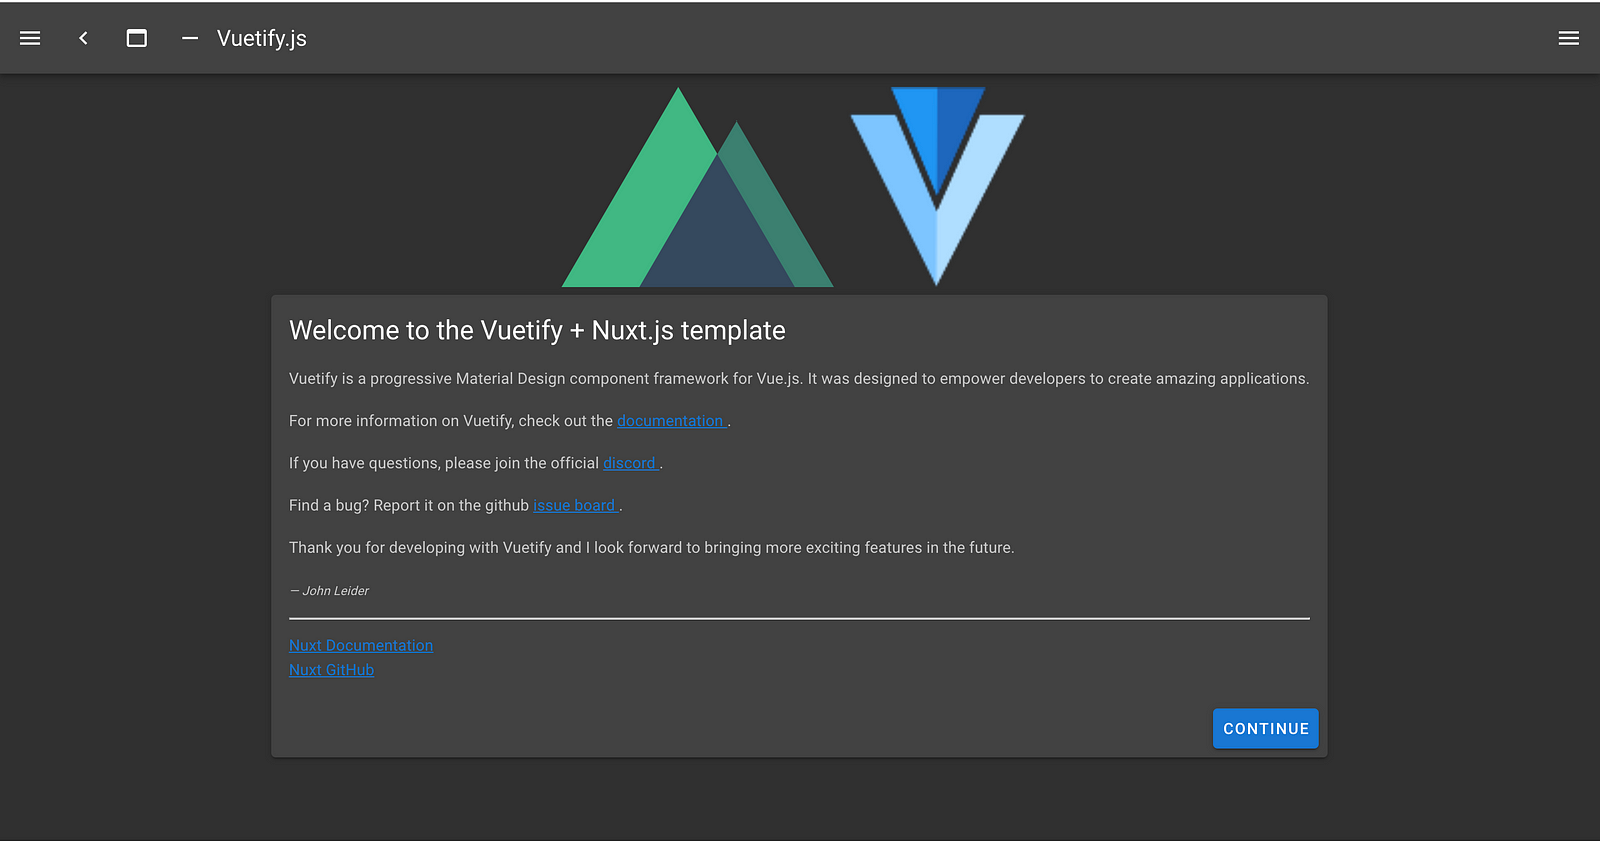
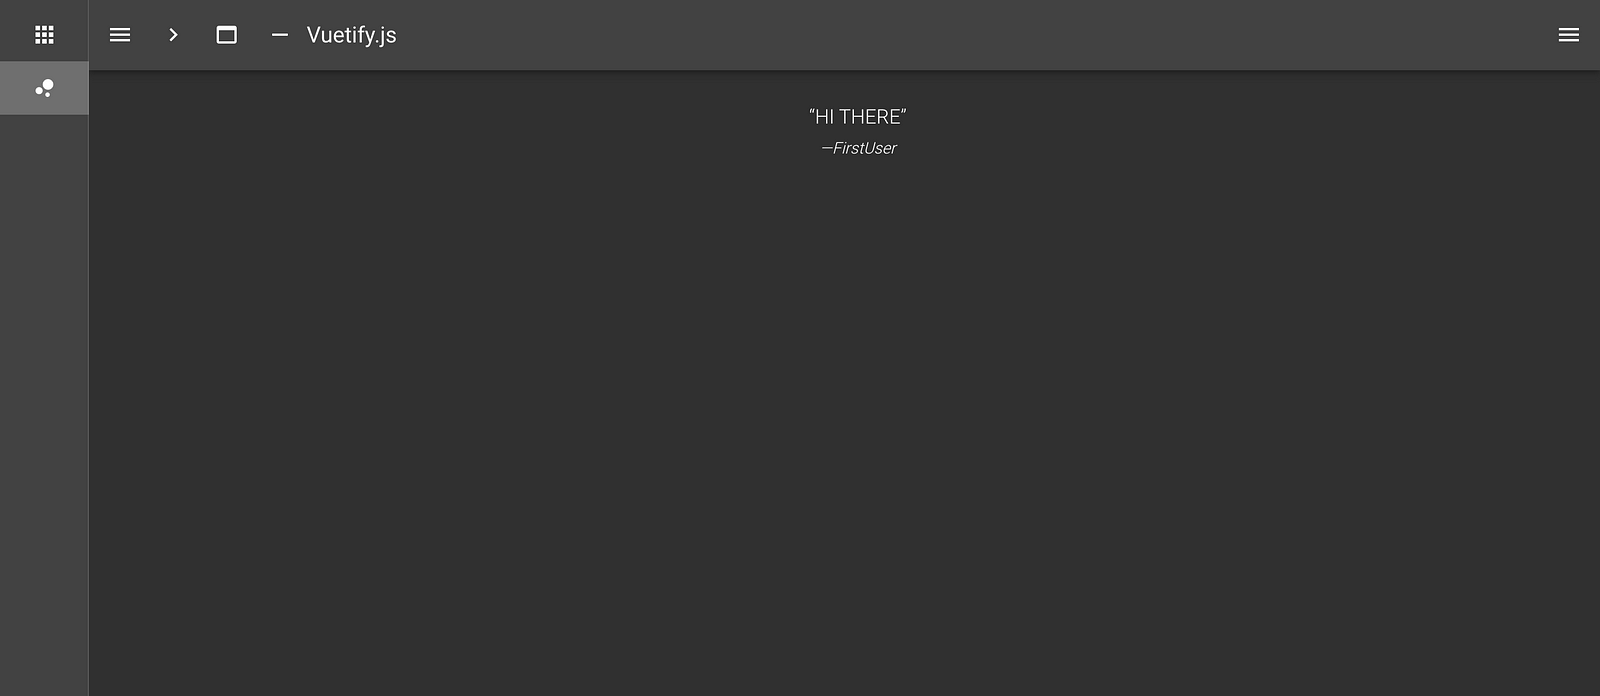
試してみたら….
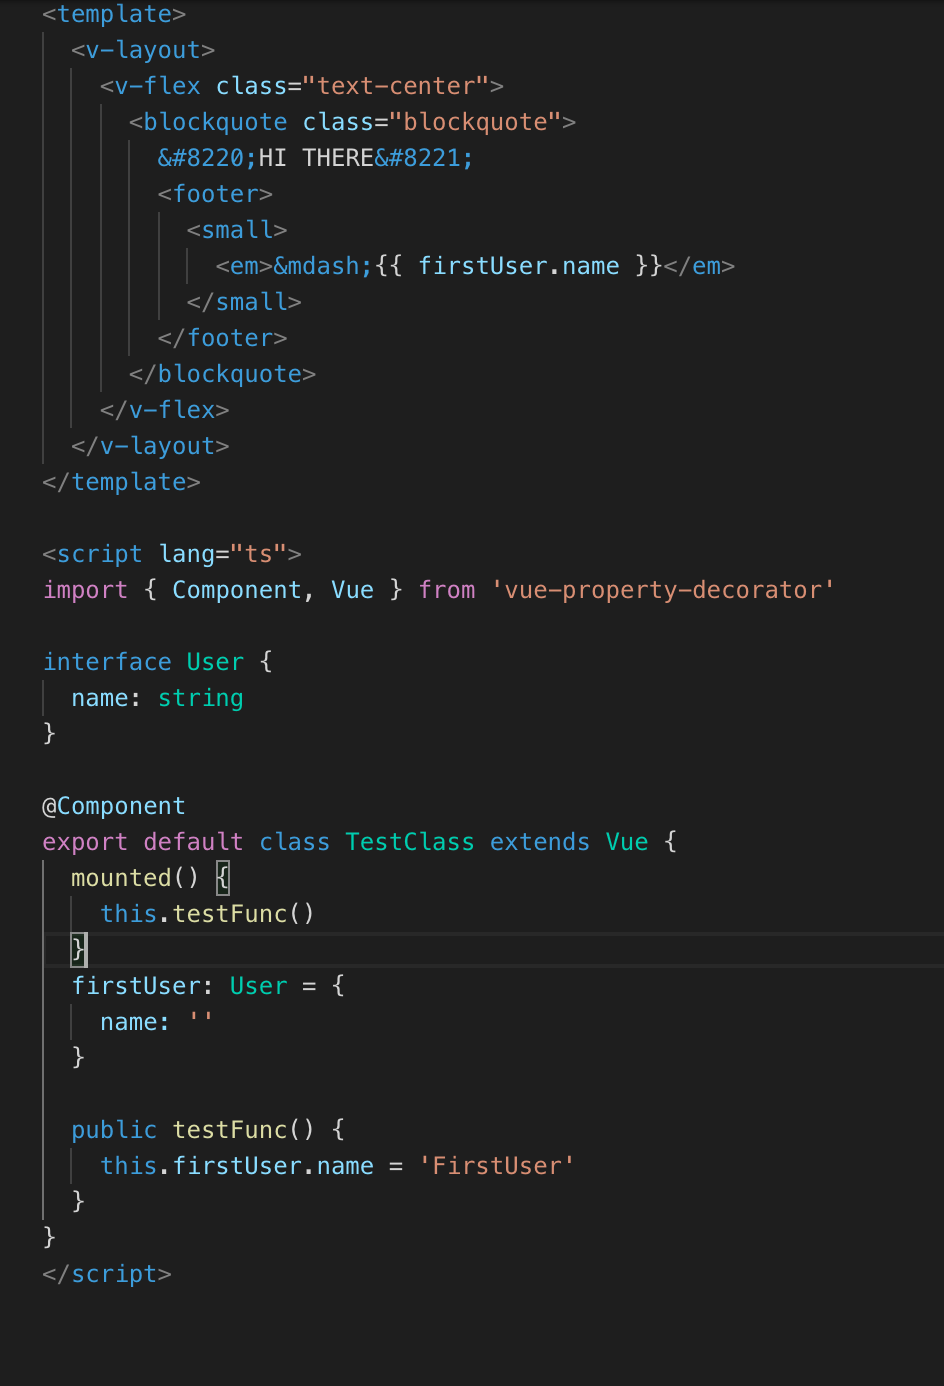
…表示できました!
最初の設定でちょっと手間がかかりますが、TypeScriptでクラスを使うのが非常に便利なのでぜひ試してみてください!
次回はFirebaseとの連携を紹介したいと思います!